Putting up Goat Fence on Hilly Wooded Terrain.
In the last few weeks it’s been all about the fence. We’re about ready for some goats, and for their sake the fence has to be just right–from what we’ve read they think like escape artists.
It would seem that over thousands of years of fencing in livestock the process would be simple, easy to find resources, and straight forward. Not so. One guy says this, another says that and ultimately it’s a figure-it-out-on-the-fly type of deal. So, we will attempt to share what we did in hopes that it might save future fencers some time and headache, maybe even a dollar or 2. It’s going to come in parts, most of which you might find utterly boring. AND, I’m sure there are simpler methods of fencing and no one has just the right formula, but here’s what worked (and didn’t) for us.
PART A: Building the Frame for a Livestock Fence:
- Determine which type fencing you want/need to use. We went with Red Brand goat fence. It seems like a great product, but note–100 ft rolls are hard to come by, 330′ seems like the standard.
- If you know you want to use 330′ cut twine to this length (325′ to be safe) and run it on simple wooden stakes or similar around the area you want to fence. (our mistake: trying to calculate while running the line. We should have cut first, THEN run it, we ended up 30 feet shy by miscounting in the field. oops!)
- Clear the area around where your fence will be installed, a nice 1-3′ wide path is great, so if it’s wooded walk it again and again with a machete or chainsaw and get a decent clear path on which to run your fencing.
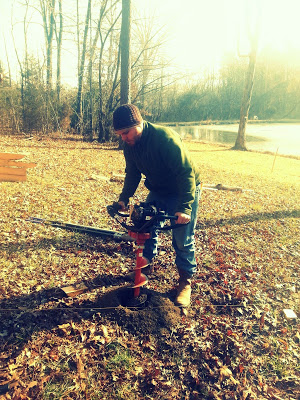
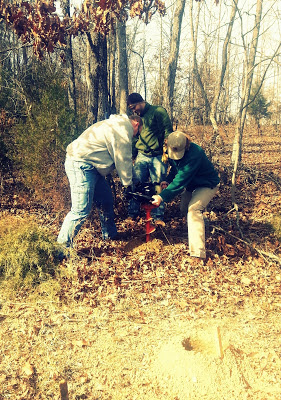
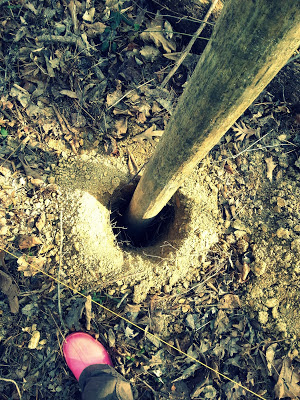
- Rent an auger. Or borrow. Drew gave a short effort to post-hole digging 2 foot deep holes every 30 feet all around the line, plus 2, 6 feet from the corner post holes, but quickly determined it would take for-ev-er to get it done. We’d still be digging…the auger rental was $75 for 4 hours, and it made for much easier work. (easy is a relative term, it is heavy, jerks you about and makes you sore for days, but it was quick….quicker).
- It’s likely that having your posts on hand would be ideal. And, before you dig all your post holes, test your soil. In some cases (as we wish we’d considered) a t-post might be a better option. Our soil is very sandy and only on the corner and brace posts did we use quickcrete. The other wooden posts are quite wobbly, and a t-post driven in would have been more secure, easier to install and cheaper.
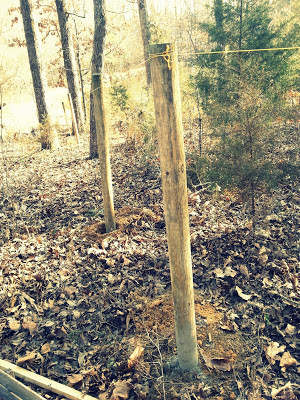
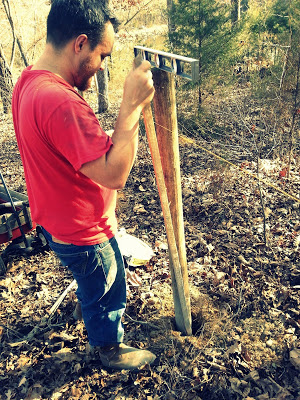
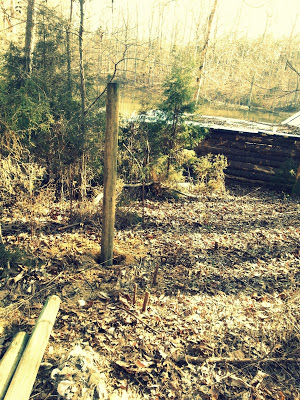
- Install your wooden posts. *looking back we would use 6in x 8ft wooden posts on the corners with 3.5in x 6ft supports, all in concrete, with only t-posts every 10ft all around the rest, except where the gate goes, then space them as wide as the gate will be–generally 4ft or more (we built ours, so exact measuring was only important when on that).



Add Comment